Showing posts with label before and after. Show all posts

The Kitchen Makeover (Part II)

We've been working on our kitchen makeover.  Last post, I discussed the taking down of the banquet.  As a reminder, this is what we started with when we decided to make the kitchen over:


Too dark!  So the first thing we did was take the banquet out but we had those gaping holes in the ceiling.  The hubby went to Home Depot and bought all the materials to fix the holes but upon further consideration we realized this is just one of those times that DIY isn't necessary and we'd probably spend more money in the long run trying to fix it.  So we hired our painter to do it.  It took them SEVEN hours (would have probably been 20 hours had we done it ourselves) and the price was incredibly reasonable.


The texture isn't done on it, but you can already see how open it looked.  While they were fixing that, we started with the DIY portion.  We got a quote to paint the kitchen and while we know it is a lot of work, we also knew WE could do it for MUCH cheaper.  We ended up saving about $850 by doing it ourselves ... totally worth it!

Hubby spent time caulking a ton of items in the cabinets.  The BIG tip is to make it look good BEFORE painting, especially when going lighter.  Light paint just highlights inconsistencies so do the job well.  Caulk any areas that need it, sand and fill in holes if they're there.

Then take down the cabinets and either go to the garage (or in our case, paint in your living room b/c the garage is cold in the winter).  We sanded some, although I think how much you sand depends on the finish of the cabinets.  Ours weren't shiny and didn't have a finish so that was quite  helpful.


Get a FLAT roller and your primer and begin!  We put two coats of primer on each side.  To paint the sides, we just put little pieces of wood underneath so they'd be up from the floor some.


We decided not to go with a SUPER white paint, but a white that had a little bit of warmth to it.  We chose Swiss Coffee by Benjamin Moore and only needed one gallon for it (that shocked me!).  We bought the Advance Benjamin Moore brand in semi-gloss finish.  We thought about getting it in a matte finish but I read somewhere that it's easier to wipe them down (remember ... two small kiddos in this house!) at semi-gloss so that was a big factor in our decision once I read that! :) 
TODAY this is what it looks like from the same view!


We still have more to do!  We want to buy some shelves, paint the fridge (yes you read that right!), make a pantry, paint the dining room table, etc.  BUT this is just BEYOND what I expected!  I LOVE walking by the kitchen all the time now.  It's bright, airy, and so fun.

Yes it was quite a bit of work to paint the cabinets, but well worth it. It took us about 2 weeks, but that's because we only worked about 6 evenings.  It's hard to do these projects when the hubby is gone so much, but we made it work and couldn't be happier!


A little kick of fun is the inside of the cabinets.  They're painted Birds Egg by Benjamin Moore.  I just bought a sample from them and it covered it, so the little kick only cost $5.


We bought a bigger rug (kitchen rugs are usually too small.  Something a little larger is much warmer and nice on your tootsies) and the towels from our favorite place, Target.  We had some Target gift certificates from Christmas and didn't spend any money getting these so it was a nice touch.  I still want to change a few other accessories, but with time.

ALL with time, but in DIY it's important to take the time and notice the huge steps.  And, I'm lovin' it.


The Kitchen Makeover

You probably think we've been lazy here at Lacey Fields.  While some nights that's true (we just don't have it in us to DIY EVERY day or week for that matter!), that isn't the case.  We've been busy redoing our kitchen the last 6 weeks and while it might take some 2 weeks to do this work, it takes us longer.  The kids, the unforeseen circumstances (such as holes in the ceiling, yes you read that correctly), the husband's job (this one is probably the biggest reason we can't work on evenings), and the fact that we just finished Breaking Bad, all contribute. ;)

When we first moved in to our house, we really were big fans of the kitchen.  But you know how things go.  When you start LIVING there, you realize you wish a few things were different.  And then you go on Pinterest.  You know Pinterest right?  That website that EVERYONE loves / hates?  I love it b/c it gives me fascinating ideas and let's me be creative. I also hate it b/c it gives me fascinating ideas and let's me be creative.

 The before shot.  Our living room no longer looks like this and neither does my office in the background, but this gives you an idea to where the problems started.  Do you see just how DARK it is?  This photo was taken in the middle of the day!  We needed some LIGHT and to OPEN things up!

And this is how it started.  You can see a hubby just getting home from a hospital (and the wifey already putting him to work! haha).  My brother was fortunately visiting at Thanksgiving (hubby had to work so my family was kind enough to keep us company while he was gone) so we put him to work too.  With a BIG mess, lots of sippy cups (4 babies in a house will do that!), and about 45 minutes to work, they took this cabinet and banquet down.

I must admit that pulling the banquet down was the husband's idea.  For starters, the construction

on it (not done by us) wasn't done to our liking and would show many areas if we painted.  Also, it just closed things off SO much!  We'd only be losing one cabinet of storage (that we have a solution for, stay tuned) ... SO ... DOWN it went!

Once they removed that a few issues arose (as always happens with DIY projects right?).  The lights hadn't been properly installed and were wired through a cabinet and plugged in (according to the electrician that came, this was a major fire hazard.  Thank goodness we fixed this!)

ALSO ... there were HOLES in the ceiling!  We don't know why, who, what, when ... they're a mystery that obviously had to be fixed.

We went to Home Depot and bought these three lights.  We didn't even CONSIDER DIYing the electric work ourselves.  After calling 3 electricians, we found one we really liked and he did an amazing job.  If you live in AR and need a reference, email me!

  After that, this is what things looked like!
(forgive the 3 year old in the pic ... she was caring for her Amarylis).
 SO much more open! SO much fresher.  And SO much work left to do! :)

As of today, we're about 75% done with stage 1 of the makeover right now (the kitchen doesn't have holes, and the cabinets look WAY different!) so I have more updating for you and will be back soon.  STAY tuned! :)


PS Step 2 might have something to do with these gaping holes that terrified me for 4 weeks ...

Master Bedroom Makeover

Over the last couple of weeks I've shared two makeovers we've done in this Lacey Fields home:

The Office -- a makeover where we painted, made an office, and helped Lacey Fields be born!
The Exterior Makeover -- a makeover where we did new landscaping, painted a front door, put rocking chairs and a swing, and painted the entire outside of the house!

And today?  Today we're unveiling the 90% done Master Bedroom!  I say 90% because we still have some ways to go ... but we've still accomplished a ton & I wanted to share the progress. 

First let's look at a before image:


The main things we wanted to do were lighten the walls, put curtains up (but leave our beautiful view of the trees), and add a second dresser!

Today, this is what our room looks like:


Lighter and our sanctuary! :)  This is a room where you can get some nice rest!


We bought my husband's dresser from Habitat for Humanity for $35.  After painting it, we mod podged some wall paper (that we bought at a carpet store here in Little Rock) and screwed in the handles.  Is it perfect?  Or course not!  BUT for less than $100, it was an affordable, large, and great dresser for our needs.  We customized it to what we wanted!  The lights and candles on top of the dresser are nice, simple, and romantic.  I bought the lamps and candles at Hobby Lobby.  The rocks are from Garden Ridge.


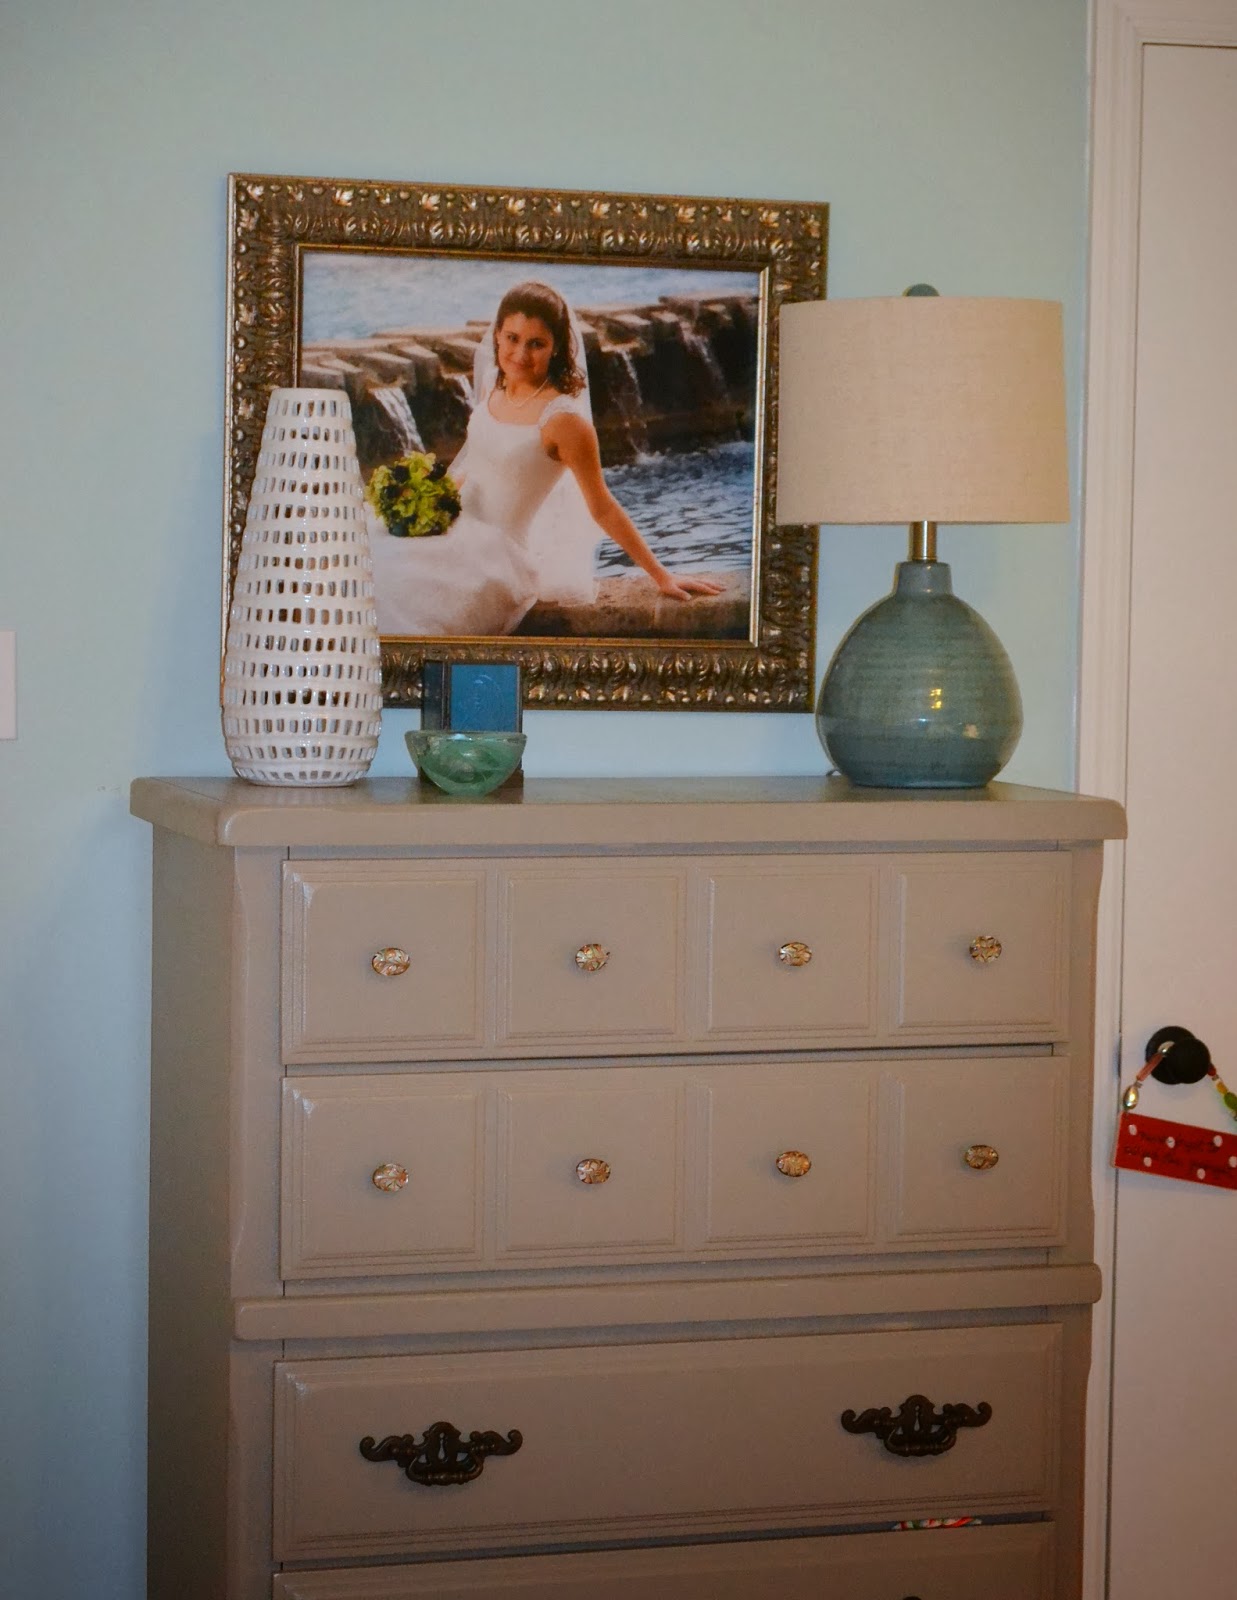
My dresser was from a little Antique store in San Antonio, Texas.  It's moved with us and we just painted it to match the other dresser.  The lamp and vase are from Home Goods.


I bought the cushion on this chair off etsy and it's what started the inspiration from the room.  The chair was SUPER cheap at TJ Maxx on clearance.  The gallery wall was actually the husband's idea.  Instead of doing a ton of pictures of us (which is nice, but we wanted a change ...)

We boght ALL these frames from Target (talk abotu a lucky snag that day!) and put a picture from our favorite places: left is a mission in San Antonio, the tree is from College Station, Texas (gig 'em aggies!), el Morro in San Juan, Puerto Rico, and the small one is Arkansas.  The largest is oru wedding picture with one of our favorite qutoes: "Marriag is not an end or a ritual.  It's a long, intricate, intimate dance together."


The two pictures above the nightstand were printed and designed by me.  I still have to change them a little (the color is off) but you get the idea. ;)

And one last view:


Source List:
nightstands: built by my handy husband and painted by us
wall color: Palladian Blue by Benjamin Moore (my favorite color ever)
Cushions and throw on bed: TJ Maxx
two lightstand lights and floor lamp: TJ Maxx
comforter and sham: Target
chair: Home Goods (on clearance for $40!)
dresser up against window: habitat for humanity (we then painted it and mod podged wall paper on the drawers)
mirror up against curtains (the inside is a jewelry cabinet): Kirklands
curtains and rods: Target
headboard: Pier 1 imports
mirror above bed: IO Metro


Still to go: some decor for the nightstands, a little more decor for my dresser, an area rug, and installing the wood flooring!  But for now, we LOVE it! :)


Stay Connected

The Archive

Categories